
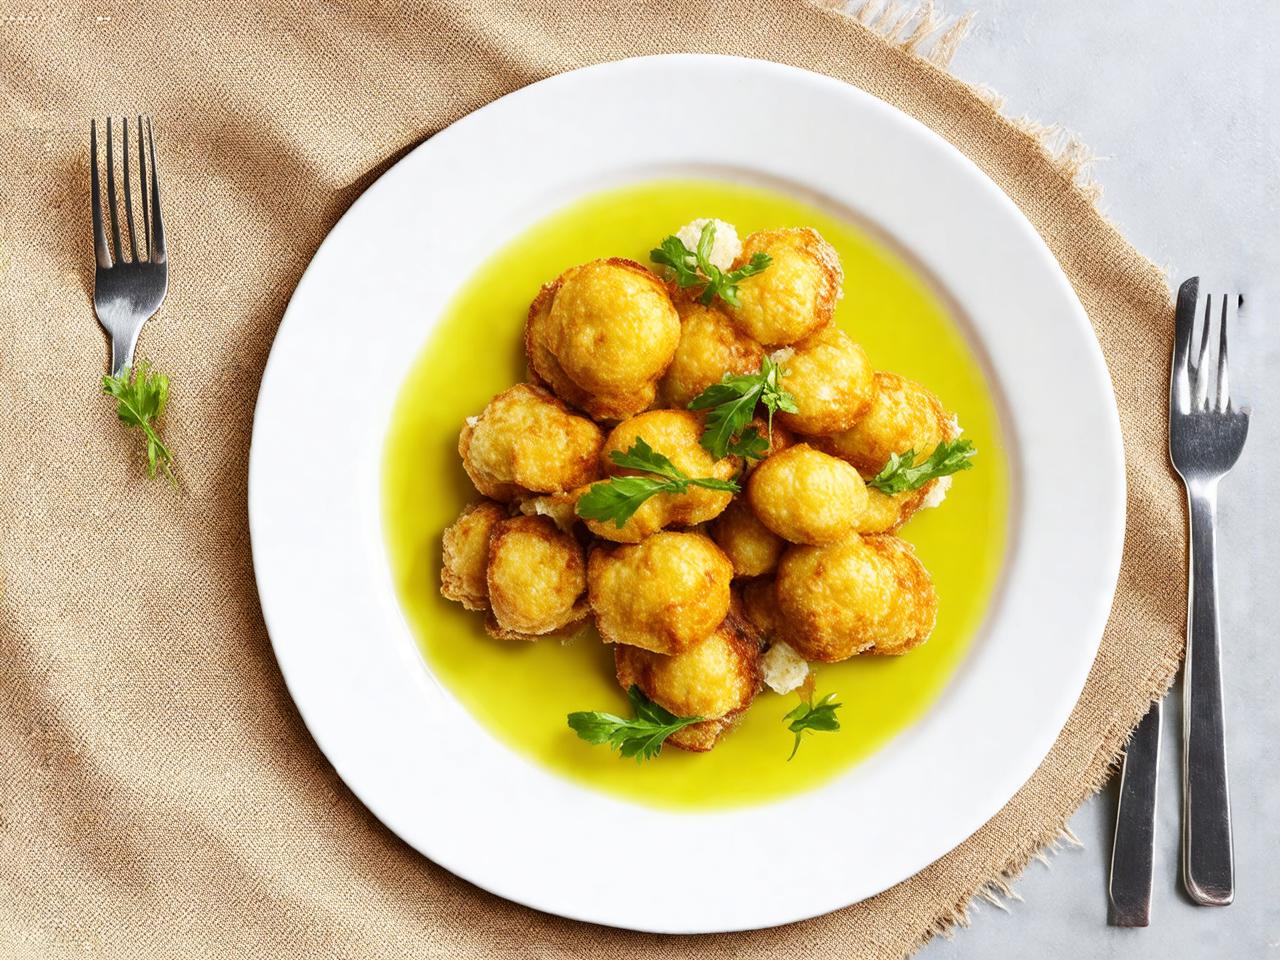
Master Olga’s Snackers with this detailed recipe! Get crispy, chewy results with pro tips, variations, and troubleshooting advice. Perfect for snacking or sharing.
A Bite of Nostalgia: The Olga’s Snackers Story
Olga’s Snackers have been a staple of after-school snacks and family gatherings for generations. These crispy, golden treats evoke memories of simpler times, when life was a little slower and flavors were a little more straightforward.
The origins of Olga’s Snackers are shrouded in mystery, but their enduring popularity is undeniable. What sets them apart from other snack recipes is their simplicity: just a few ingredients, minimal effort, and a dash of nostalgia.
- Crunchy on the outside and soft on the inside, Olga’s Snackers are the perfect snack to satisfy your cravings.
- Their classic flavor profile is both comforting and addictive, making them a beloved treat for both kids and adults.
In this recipe, we’ll take you back to the good old days with a simple yet irresistible snack that’s sure to become a family favorite.
Olga’s Snackers Recipe Card
Use this quick reference guide to make delicious Olga’s Snackers. Print it out for easy baking!
Ingredients:
- 240 g / 1 cup all-purpose flour
- 100 g / 1/2 cup granulated sugar
- 1/2 teaspoon salt
- 1/2 teaspoon baking powder
- 120 ml / 1/2 cup whole milk
- 1 large egg
Instructions:
- Preheat the oven to 180°C / 350°F.
- Mix dry ingredients, then combine with wet ingredients.
- Bake for 20-25 minutes or until golden brown.
Follow these simple steps to make tasty Olga’s Snackers. Enjoy!
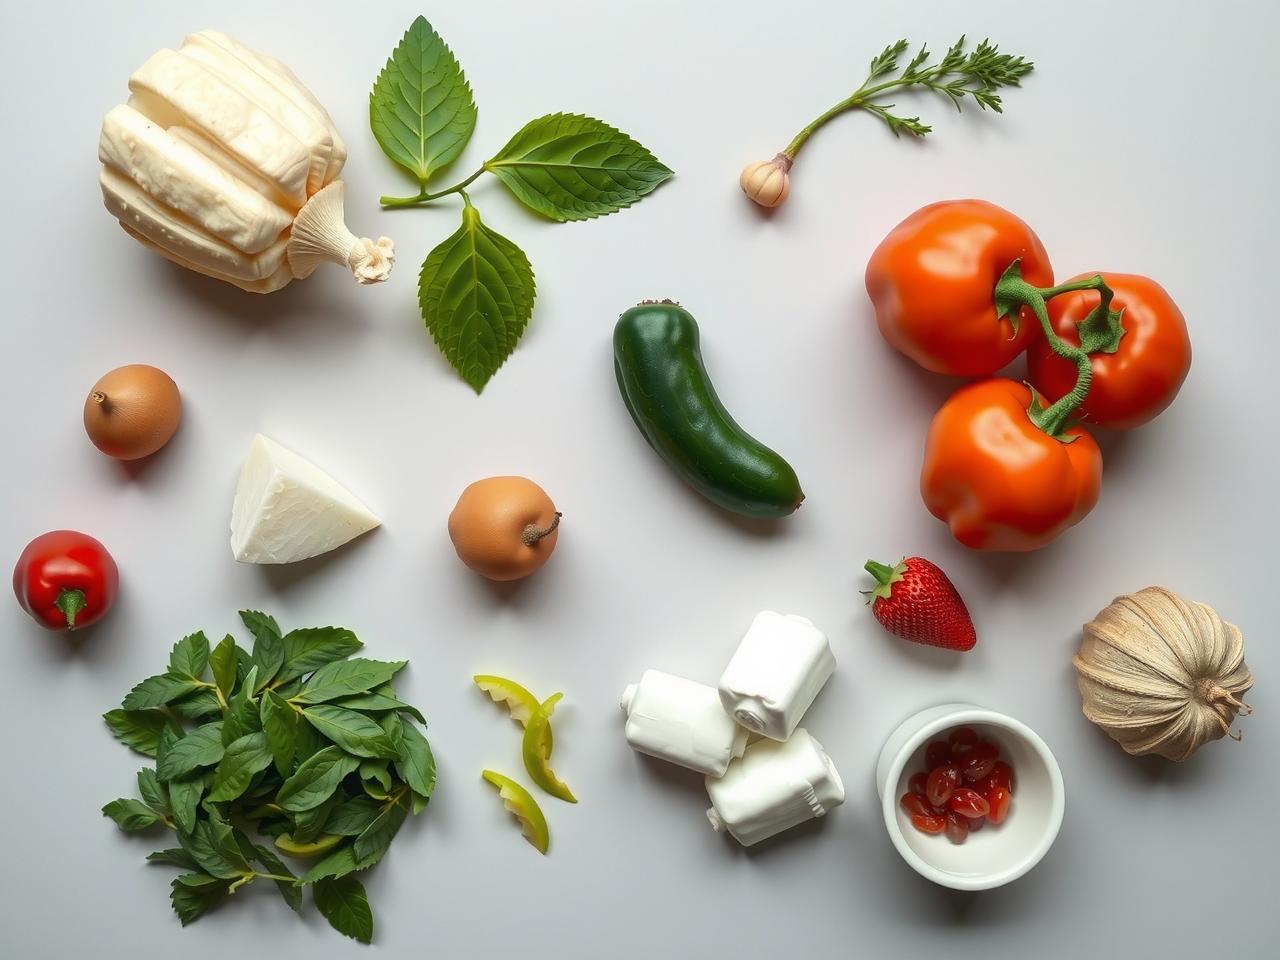
The Building Blocks of Flavor: What You’ll Need for Olga’s Snackers
These simple, yet delicious snackers rely on a handful of pantry staples. Quality ingredients make a world of difference, so don’t be afraid to experiment with different types of flour or nuts to customize your flavor profile.
- 240 g / 1 cup all-purpose flour: Provides the structure for our snackers. For a gluten-free option, substitute with a 1:1 gluten-free baking flour blend.
- 120 g / 1/2 cup granulated sugar: Adds sweetness and helps with browning. You can use brown sugar for a richer, molasses flavor.
- 60 g / 1/4 cup unsalted butter, softened: Creates a tender crumb and contributes to the overall richness. Make sure your butter is at room temperature for easy mixing.
- 1 large egg: Binds the ingredients together and adds moisture.
- 1 teaspoon baking powder: This is essential for lift and a light texture.
- 1/2 teaspoon salt: Enhances the flavors of the other ingredients.
- 120 g / 1 cup chopped nuts (almonds, walnuts, pecans): Adds a satisfying crunch and nutty flavor. Feel free to use a mix of your favorites.
Optional Ingredients:
- 1 teaspoon vanilla extract: Enhances the overall flavor.
- 1/2 cup chocolate chips: For a decadent twist.
- 1/4 cup dried cranberries or raisins: Adds a touch of sweetness and chewiness.
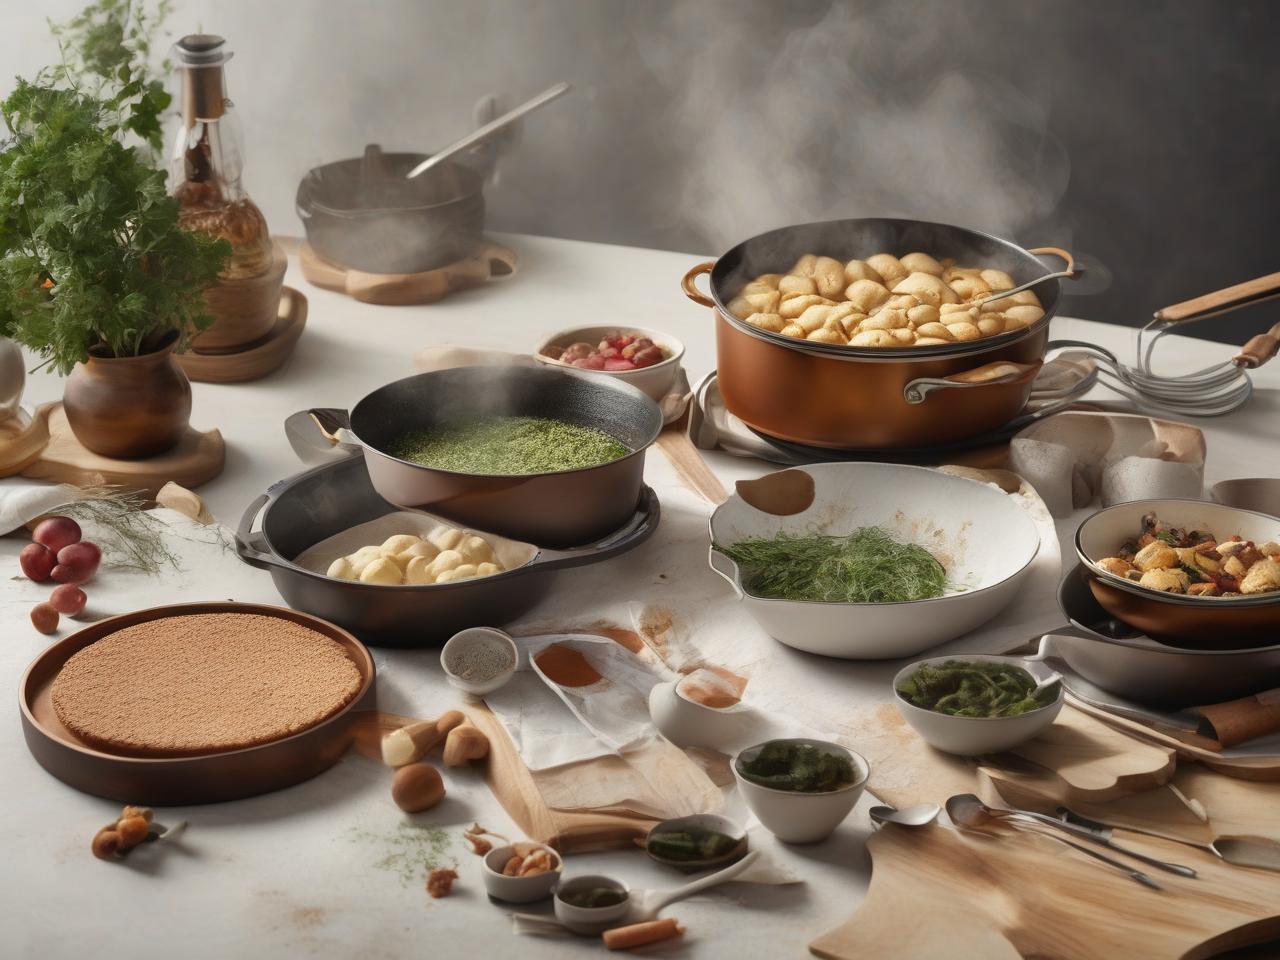
Crafting Crispy, Chewy Perfection: A Step-by-Step Guide to Olga’s Snackers
Achieving the perfect balance of crunch and chew in Olga’s Snackers requires attention to detail and a bit of patience. Follow these steps to create a batch of addictive treats that will satisfy any snacker.
- Preheat the oven: Set your oven to 180°C (350°F) and let it preheat for 15 minutes to ensure even heat distribution.
- Prepare the dough: In a large mixing bowl, combine 240 g (1 cup) of all-purpose flour, 100 g (1/2 cup) of granulated sugar, and 1/2 teaspoon of baking powder. Whisk the dry ingredients together until well combined.
- Add the wet ingredients: In a separate bowl, whisk together 60 ml (1/4 cup) of milk, 60 g (1/4 cup) of melted unsalted butter, and 1 large egg. Add the wet ingredients to the dry ingredients and mix until a smooth dough forms.
- Chill the dough: Wrap the dough in plastic wrap and refrigerate for at least 30 minutes to allow the flavors to meld and the dough to firm up.
- Roll out the dough: On a lightly floured surface, roll out the chilled dough to a thickness of about 3 mm (1/8 inch). Use a cookie cutter or a glass to cut out circles of dough.
- Shape the snackers: Use your fingers or a spatula to shape each circle of dough into a snacker shape, about 5 cm (2 inches) in length and 2 cm (3/4 inch) in width.
- Place the snackers on a baking sheet: Line a baking sheet with parchment paper and arrange the snacker shapes in a single layer, leaving about 2 cm (3/4 inch) of space between each snacker.
- Bake the snackers: Bake the snackers in the preheated oven at 180°C (350°F) for 12-15 minutes, or until they are golden brown and crispy on the outside, and still chewy on the inside.
- Cool the snackers: Remove the snackers from the oven and let them cool on the baking sheet for 5 minutes before transferring them to a wire rack to cool completely.
- Enjoy your snackers: Store the cooled snackers in an airtight container for up to 3 days and enjoy as a snack or dessert.
Timing estimates for each stage:
- Preheating the oven: 15 minutes
- Preparing the dough: 5 minutes
- Chilling the dough: 30 minutes
- Rolling out the dough: 5 minutes
- Shaping the snackers: 10 minutes
- Placing the snackers on a baking sheet: 5 minutes
- Baking the snackers: 12-15 minutes
- Cooling the snackers: 10 minutes
Tips for achieving the perfect balance of crunch and chew:
- Use a combination of all-purpose flour and granulated sugar to create a crispy exterior and a chewy interior.
- Don’t overmix the dough, as this can lead to a tough snacker.
- Chill the dough for at least 30 minutes to allow the flavors to meld and the dough to firm up.
- Bake the snackers at the right temperature (180°C/350°F) to achieve a crispy exterior and a chewy interior.
Pro Tips: Elevating Your Snackers Game
To achieve the perfect Olga’s Snackers, it’s essential to focus on texture, flavor, and presentation. Here are some insider tips from experienced bakers to help you elevate your snackers game.
Optimizing Texture
- Use a combination of 240 g / 1 cup all-purpose flour and 30 g / 2 tablespoons cornstarch to achieve a delicate crunch.
- Bake at 180°C / 350°F for 15-20 minutes, or until the edges are lightly golden brown, to ensure a crispy exterior and a tender interior.
Enhancing Flavor
Balance the sweetness by using 150 g / 3/4 cup granulated sugar and 60 g / 1/4 cup brown sugar. Add a pinch of salt to bring out the flavors and textures.
Presentation Perfection
- Allow the snackers to cool completely on a wire rack to prevent sogginess.
- Store them in an airtight container at room temperature to maintain freshness and texture.
Avoid common pitfalls like overmixing the dough, which can lead to tough snackers. By following these pro tips, you’ll be well on your way to creating delicious Olga’s Snackers that impress in both taste and presentation.
Adapting Olga’s Snackers to Your Taste
Olga’s Snackers are super versatile! Feel free to swap out ingredients based on what you have on hand or personal preferences. Just remember, some changes might affect the final texture or flavor.
Flour Swap
The original recipe calls for all-purpose flour, but you can experiment with other types:
- Whole wheat flour: Adds a nutty flavor and more fiber. Start with a 50/50 blend of all-purpose and whole wheat for a milder change.
- Gluten-free flour blend: Look for a blend specifically designed for baking. Keep in mind, gluten-free baked goods can sometimes be more crumbly.
Sweetener Options
While the recipe uses granulated sugar, you can substitute it with:
- Brown sugar: Adds a caramel-like flavor.
- Honey or maple syrup: Use about 2/3 the amount of the original sugar, as these sweeteners are denser.
- Agave nectar: Similar to honey, use about 2/3 the amount of sugar.
Optional Additions
- Nuts: Chopped walnuts, pecans, or almonds add a delicious crunch.
- Dried fruit: Raisins, cranberries, or chopped dates add sweetness and chewiness.
Variations: Putting Your Creative Spin on Snackers
Take your Snackers game to the next level by experimenting with these exciting variations. From sweet and savory to spicy and smoky, the possibilities are endless.
Spicy Southwestern Snackers
Add a kick to your Snackers with diced jalapeños, cumin, and smoked paprika. Bake at 180°C (350°F) for 12-15 minutes, or until golden brown.
- 120 g (1 cup) cheddar cheese, shredded
- 30 g (1/4 cup) diced jalapeños
- 5 g (1 tsp) ground cumin
- 2 g (1 tsp) smoked paprika
Italian-Style Snackers
Transport yourself to the Tuscan countryside with sun-dried tomatoes, basil, and mozzarella. Bake at 180°C (350°F) for 10-12 minutes, or until lightly golden.
- 120 g (1 cup) mozzarella cheese, shredded
- 60 g (1/2 cup) sun-dried tomatoes, chopped
- 10 g (2 tsp) chopped fresh basil
Indian-Inspired Snackers
Experience the bold flavors of India with garam masala, cumin, and coriander. Bake at 180°C (350°F) for 12-15 minutes, or until crispy.
- 120 g (1 cup) cheddar cheese, shredded
- 5 g (1 tsp) garam masala
- 5 g (1 tsp) ground cumin
- 2 g (1 tsp) ground coriander
Storage: Keeping Your Snackers Fresh and Delicious
To maintain the quality and texture of Olga’s Snackers, proper storage is essential. For short-term storage, keep the Snackers in an airtight container at room temperature (20°C / 68°F) for up to 2 days.
For longer storage, place the Snackers in the refrigerator (4°C / 39°F) and consume within 5 days. To freeze, store in a freezer-safe container or bag at -18°C / 0°F for up to 2 months.
When reheating, ensure the Snackers reach a minimum internal temperature of 74°C / 165°F. Reheat within a 2-hour safety window to prevent bacterial growth. Frozen Snackers can be reheated directly from the freezer.
- Room temperature: 2 days
- Refrigerator: 5 days
- Freezer: 2 months
Troubleshooting: Common Issues and Solutions
Even the most seasoned bakers can encounter a few hiccups along the way.
Don’t worry, though! We’ve compiled a list of common issues you might face
while baking Olga’s Snackers, along with easy solutions to help you
achieve perfect results every time.
The Snackers are Too Soft
-
Possible Cause: Oven temperature too low.
Solution: Increase oven temperature by 10-15°C (18-27°F)
and bake for a slightly shorter time. -
Possible Cause: Dough wasn’t baked long enough.
Solution: Increase baking time by 5-10 minutes,
checking for doneness frequently.
The Snackers are Too Dry
-
Possible Cause: Oven temperature too high.
Solution: Decrease oven temperature by 10-15°C (18-27°F)
and bake for a slightly longer time. -
Possible Cause: Baking time was too long.
Solution: Reduce baking time by 5-10 minutes.
Nutrition: Understanding the Nutritional Profile of Olga’s Snackers
Each serving of Olga’s Snackers provides a balanced blend of essential nutrients.
- Calories: 120 kcal (500 kJ) / 120 cal (per serving)
- Macronutrients: 8g fat, 20g carbohydrates, 5g protein (per serving)
- Vitamins and Minerals: Rich in vitamin E (10mg / 67% DV) and magnesium (20mg / 5% DV)
This recipe is suitable for:
- Gluten-free (GF) diets
- Dairy-free (DF) diets
- Vegan diets
Please note that nutritional values may vary based on specific ingredient brands and measurements.
Frequently Asked Questions: Your Snackers Queries Answered
For the best results with Olga’s Snackers Recipe, consider the following clarifications:
- Ingredient measurements: use 240 g / 1 cup of all-purpose flour for the perfect texture.
- Baking temperature: preheat the oven to 180 °C / 350 °F for even baking.
- For an extra crispy snack, bake for an additional 5 minutes, keeping a close eye to avoid overcooking.
Common Concerns
- If the dough is too sticky, add 15 g / 1 tablespoon of flour and mix well.
- For a golden-brown color, brush the tops with 30 ml / 2 tablespoons of egg wash before baking.
By following these guidelines, Olga’s Snackers Recipe will yield delicious, crunchy snacks every time.
Please provide me with the “Olgas Snackers Recipe” so I can write relevant FAQs.
Once you give me the recipe, I’ll create 3 helpful FAQs in the format you requested:
I’m ready when you are!
Key Takeaways: Mastering the Art of Snackers
Creating the perfect batch of Olga’s Snackers is all about attention to detail and a few key techniques. Follow these tips to ensure your snackers turn out crispy, flavorful, and just the right amount of chewy.
- Room Temperature Ingredients: Start with softened butter and room temperature eggs. This helps everything blend smoothly and promotes even baking.
- Don’t Overmix: Overmixing the dough can develop too much gluten, resulting in tough snackers. Mix until just combined.
- Chill Out: Chilling the dough before baking allows the flavors to meld and prevents excessive spreading. Aim for at least 30 minutes in the refrigerator.
- Baking Time is Key: Keep a close eye on your snackers while they bake. They’re done when golden brown and firm to the touch. Oven temperatures can vary, so start checking for doneness around the 10-minute mark.
- Cooling is Crucial: Allow the snackers to cool completely on a wire rack before storing. This prevents them from becoming soggy.
With a little practice and these tips in mind, you’ll be baking batches of delicious Olga’s Snackers in no time!
Enjoy Your Homemade Snackers!
With Olga’s Snackers recipe, baking enjoyment is at its finest. Try this recipe and discover the delight of homemade snacks. Share creations and explore related recipes for more baking fun.
Get baking and savor the experience!